Thursday, October 10, 2019

Free sewing pattern: Ruby saree blouse pattern

I am so happy to know that my blog is reaching people! Yesterday a beloved reader from India asked me to make her a saree pattern – and I am more than happy to do so! And the result is the Ruby saree pattern that I am sharing today!
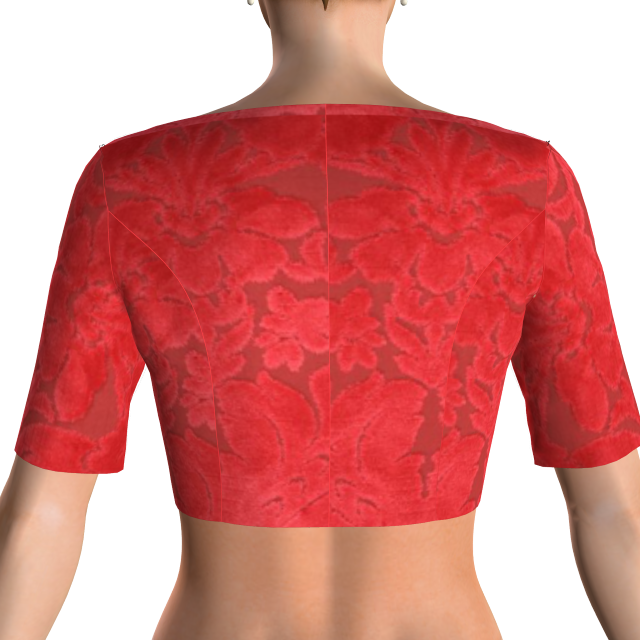
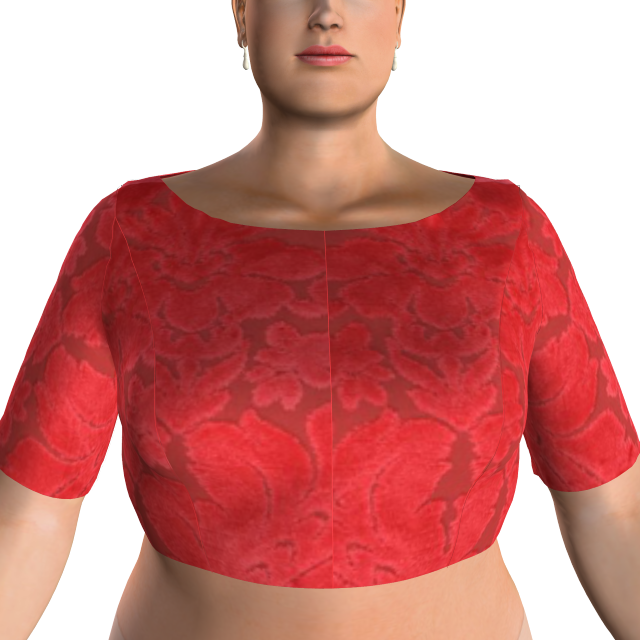
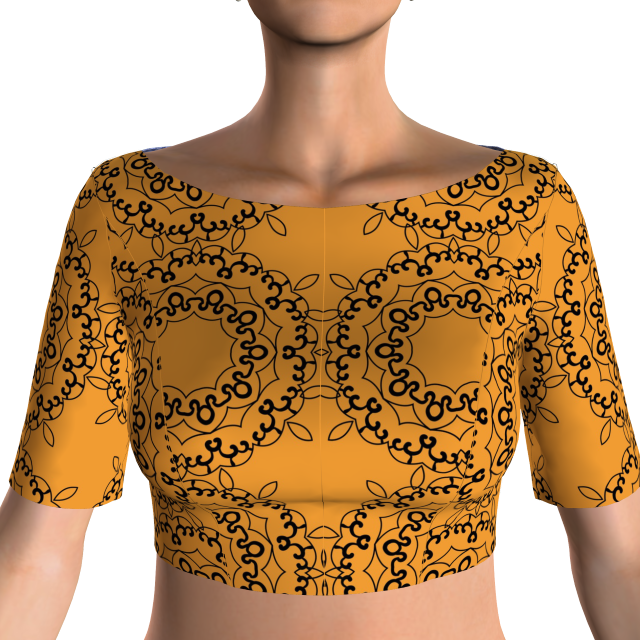
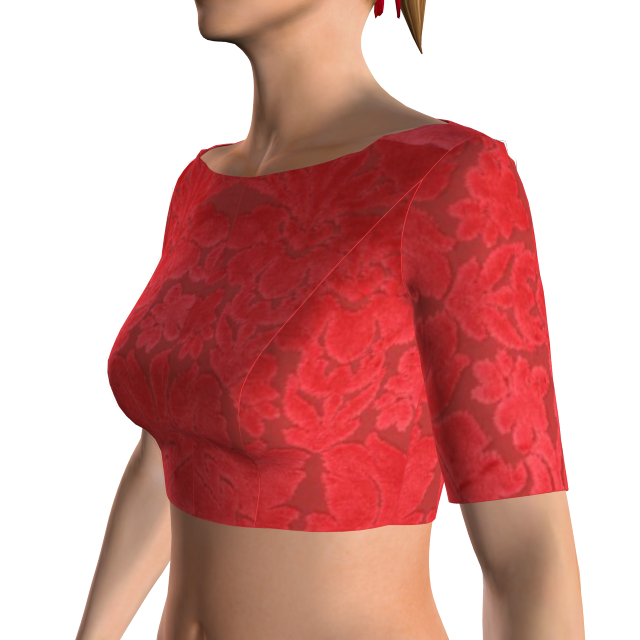
This Ruby saree features a bateau neckline, princess seam and half sleeves. It has a very close fit – just like how you see all other saree blouses on the Internet. At first, the Indian friend told me that my Amy crop top did not work well and did not fit properly when she altered it to make the saree blouse in her first attempt. I understand that, the Amy crop top falls at the natural waistline while the saree blouse stops above that level, so the fit is not the same.
The Ruby saree blouse pattern is made by her request, and I am happy to share it with others. Let’s see how it looks in 3D simulation:
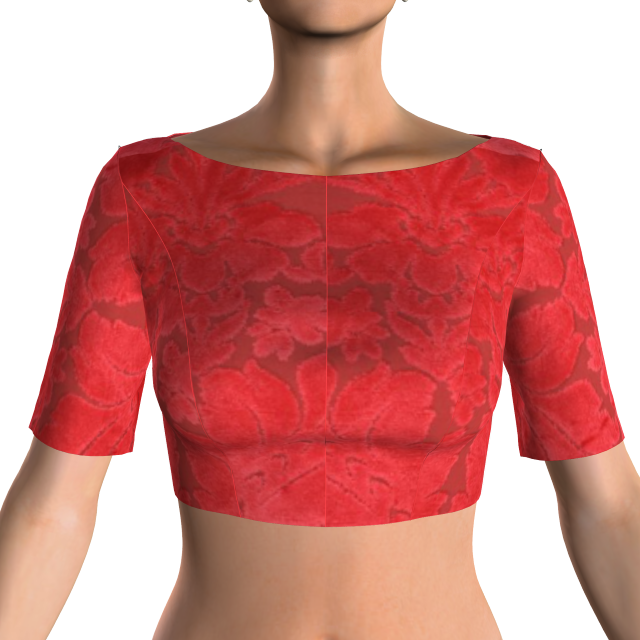
Can you see the very beautiful seam line? I really love princess seam, because it hugs the curves so well.
Of course this is just the very basic simulation. In real life, you can add more details to make the saree blouse look better. For example, a line of buttons can be a nice addition to the back of the item.
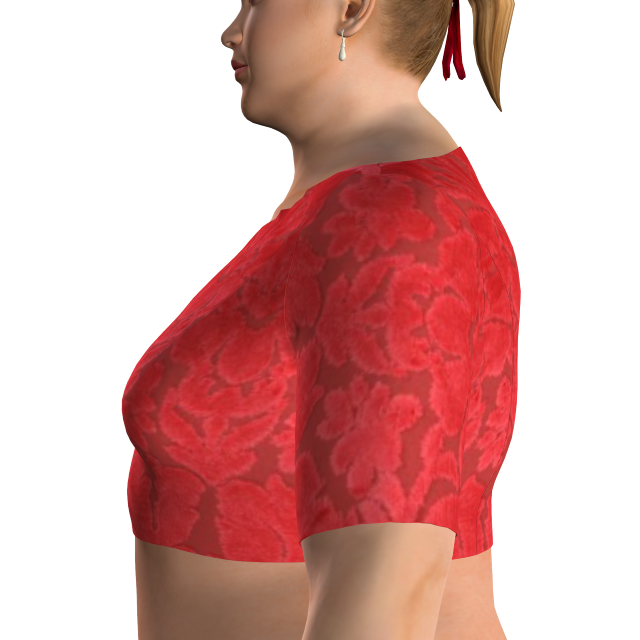
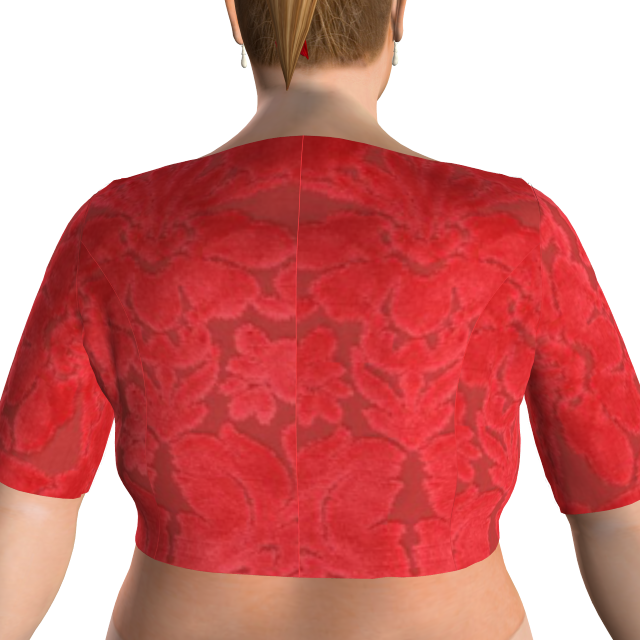
And because my beloved reader asked me to make the pattern in sizes so that she can make more sarees for her family members, I graded it up to size 5XL. Here’s how it looks on my size 5XL model:
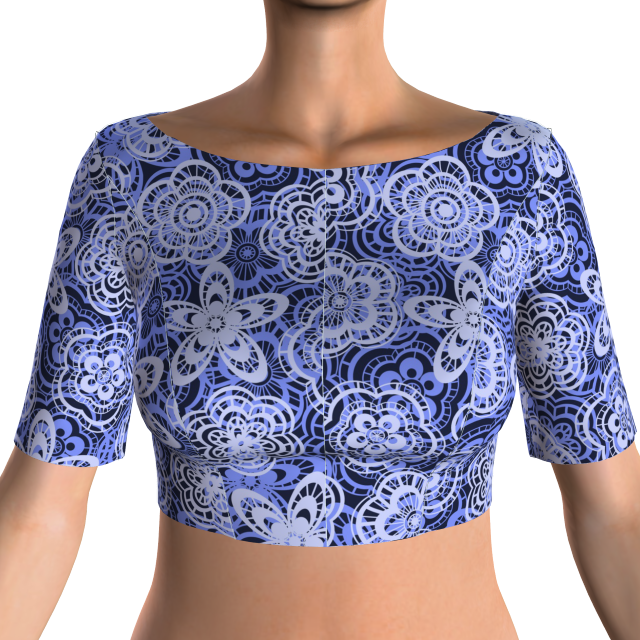
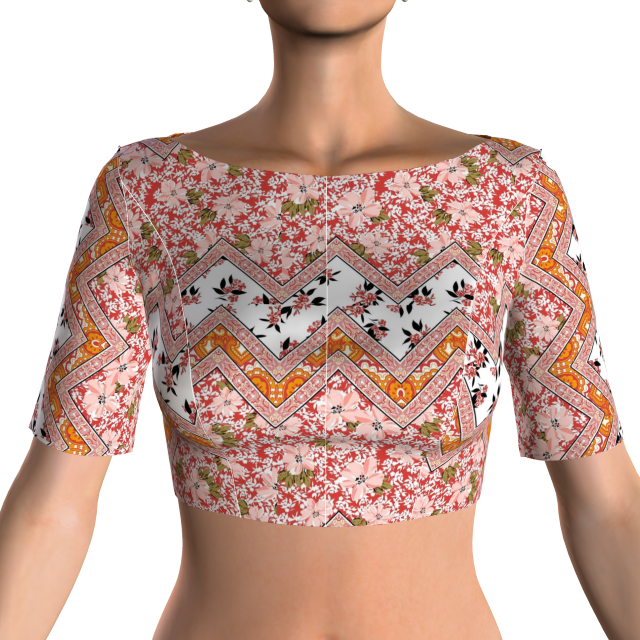
You can also try this pattern on various fabrics and prints. I am so in love with this beautiful pattern!
The pattern is made using layered PDF, please check for your desired size before printing so you won’t waste your paper. If you still do not know how to print a layered PDF, please check for the instruction here.
You can print this using your home printer and A4/Letter paper. I calculated the printing area so that you will be able to use either type of paper to print the pattern out perfectly. Always print the first page first and check with the test square if you are printing at the right scale before you print out the whole pattern.
This is the link to download this pattern: Ruby saree blouse

Tuesday, October 8, 2019

Lisa scalloped hem skirt pattern

I think I may be too into making skirt patterns – it’s the second skirt this month, and I feel so happy with it.
The scalloped hem has always been a beautiful addition to almost any item, from skirt, coat, top or dress, and although it may take you some extra time and attention when sewing this kind of hemline, it is totally worthy.
The Lisa scalloped hem skirt features a fitted upper skirt, and the gathered lower skirt with scalloped hemline. It falls just above the knee, and can be mixed with various types of tops.
I have made some 3D simulations about this beautiful skirt to help you imagine how it will turn out in real life:
And how will it look like on the body? I mixed it with the Celine crop top that I made a while ago. Maybe I will repost this beautiful crop top on this page. It’s just too stylish!
Here’s the side and back view. I love you the skirt hugs the hips and flare at the bottom.
For pattern and sewing instruction, visit my official website: https://tianascloset.com/index.php/2019/10/09/lisa-scalloped-hem-skirt-pattern/

Free PDF sewing pattern: Miley flounce hem skirt

This beautiful skirt is another item in my October 2019 collection – although I haven’t posted anything about a collection yet. Maybe it will be posted when I finish coloring the sketches that I have drawn over the last few days.
The Miley skirt features a pencil silhouette with a ruffle hemline. It is a little twist to the very basic pencil skirt which is available in just any closet – I believe.
Sewing the Miley skirt will not take you much extra time comparing to the staple pencil skirt, and the result? You will get a flirty, charming skirt that moves with every step you take!
Let’s see you it turns out in different fabric and prints:
The pattern is made using layered PDF, please check for your desired size before printing so you won’t waste your paper. If you still do not know how to print a layered PDF, please check for the instruction here.
You can print this using your home printer and A4/Letter paper. I calculated the printing area so that you will be able to use either type of paper to print the pattern out perfectly. Always print the first page first and check with the test square if you are printing at the right scale before you print out the whole pattern.
Cutting instruction:
After taping down all the pages following the instruction, the overall layout of the pattern pieces is like this:
There are 8 pattern pieces to be cut as follows:
A. Center Front – 1pcs
B. Side Front – 2pcs
C. Center Back – 2pcs
D. Side Back – 2pcs
E. Front Waistband – 2pcs
F. Back Waistband – 4pcs
G. Front Flounce – 1pcs
H. Back Flounce – 1pcs
This is the link to download this pattern: Miley flounce hem skirt
Happy sewing!
Tiana

Sunday, October 6, 2019

Free sewing pattern: Emma dress

The Emma dress is a great choice for those who want to finish a quick project. With just a few details, this dress can be finished within hours and you can get a nice feminine dress for a day out.
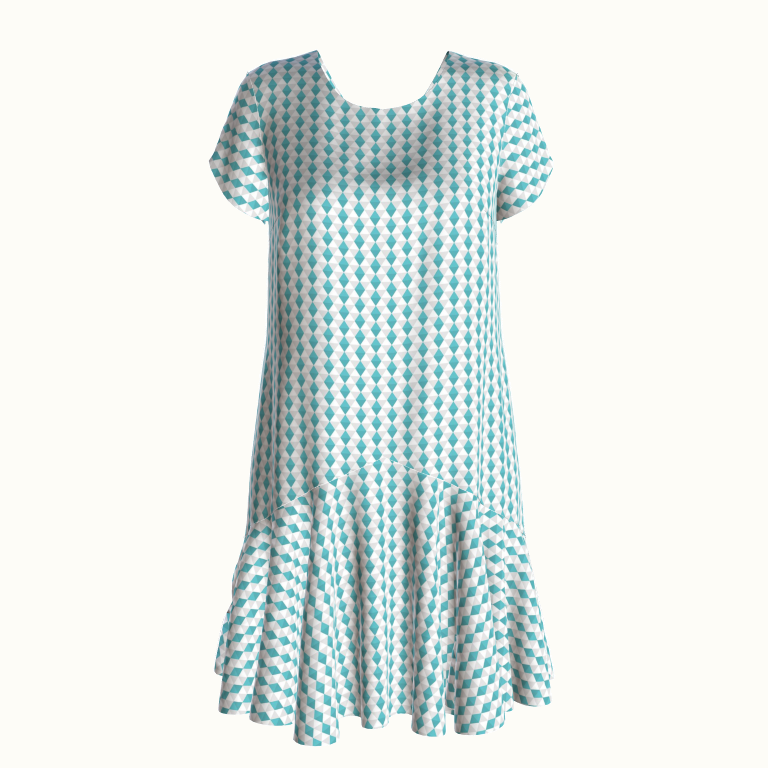
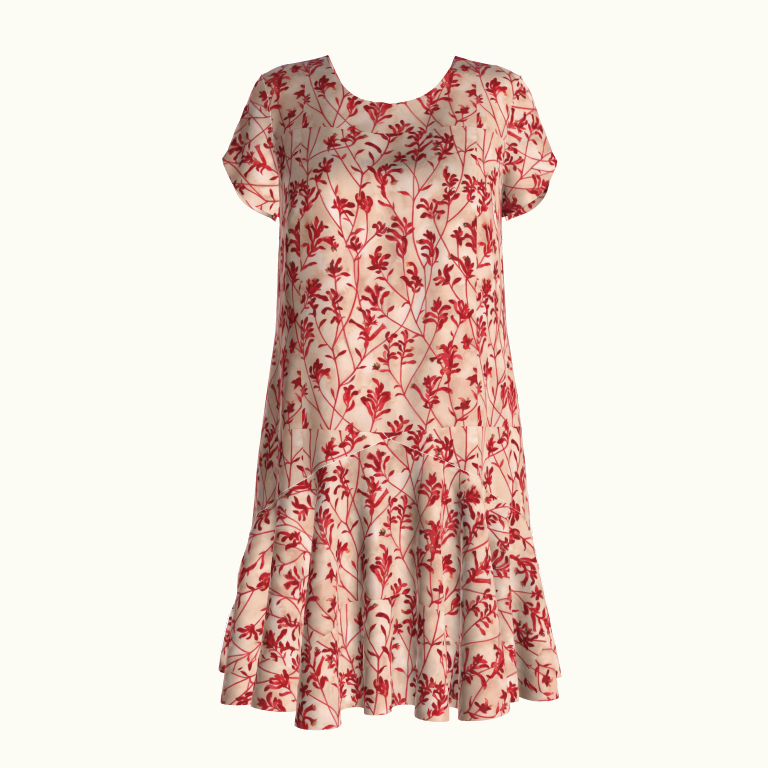
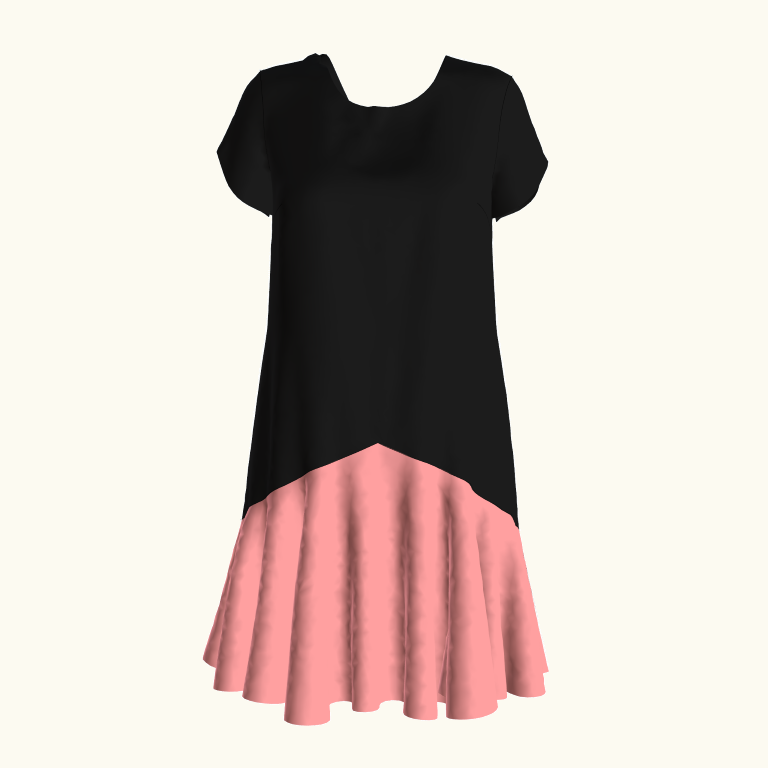
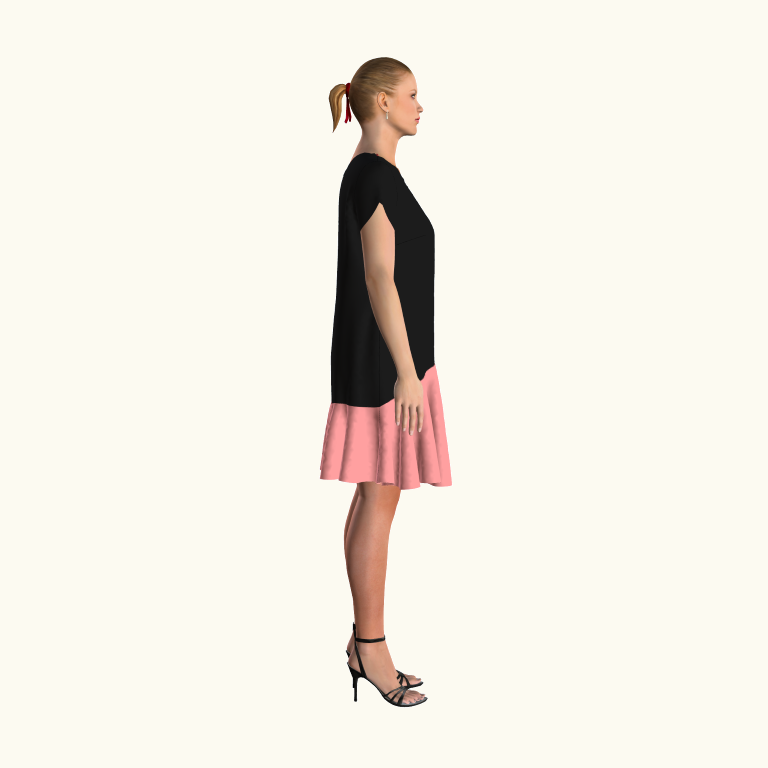
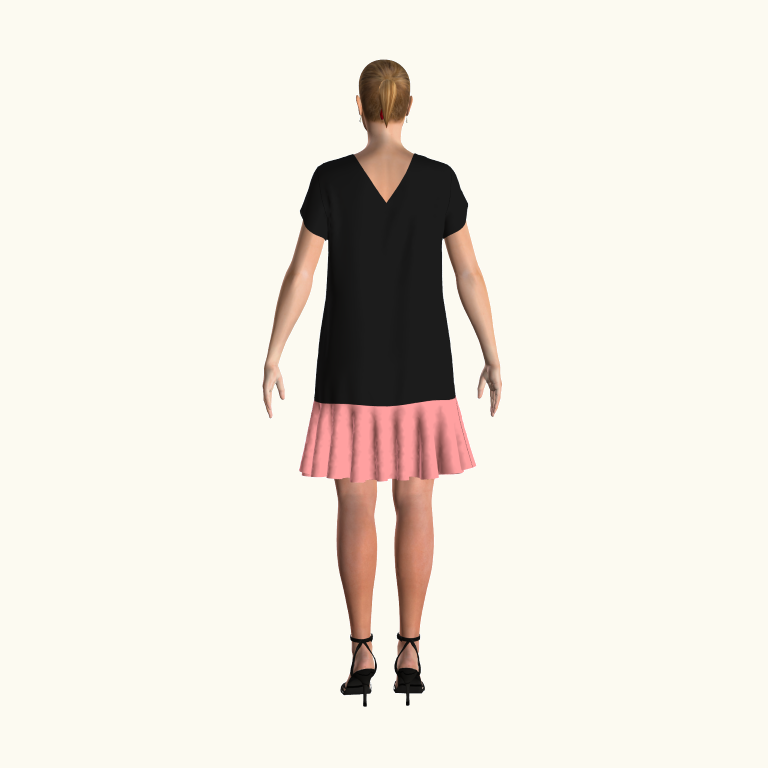
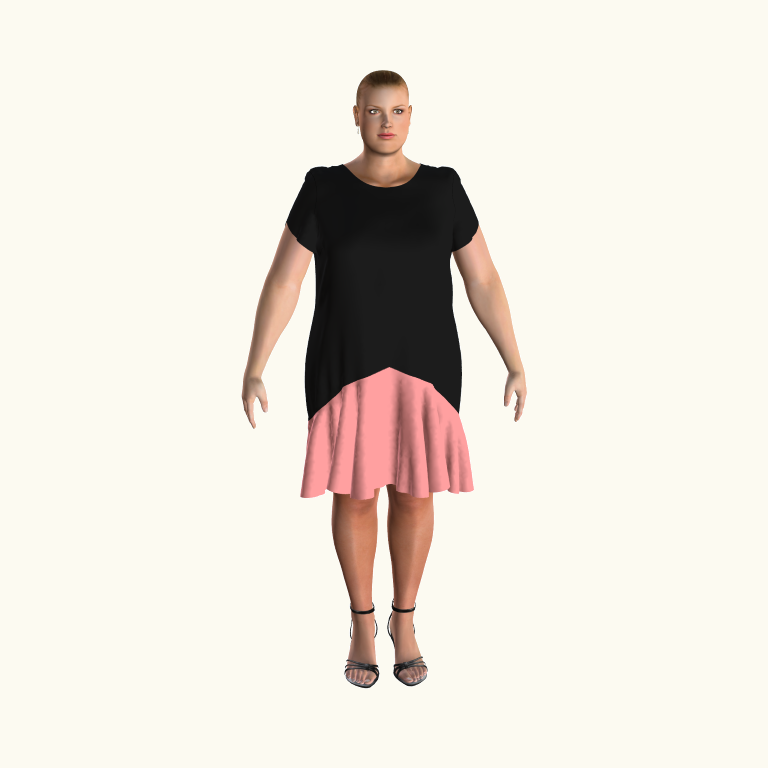
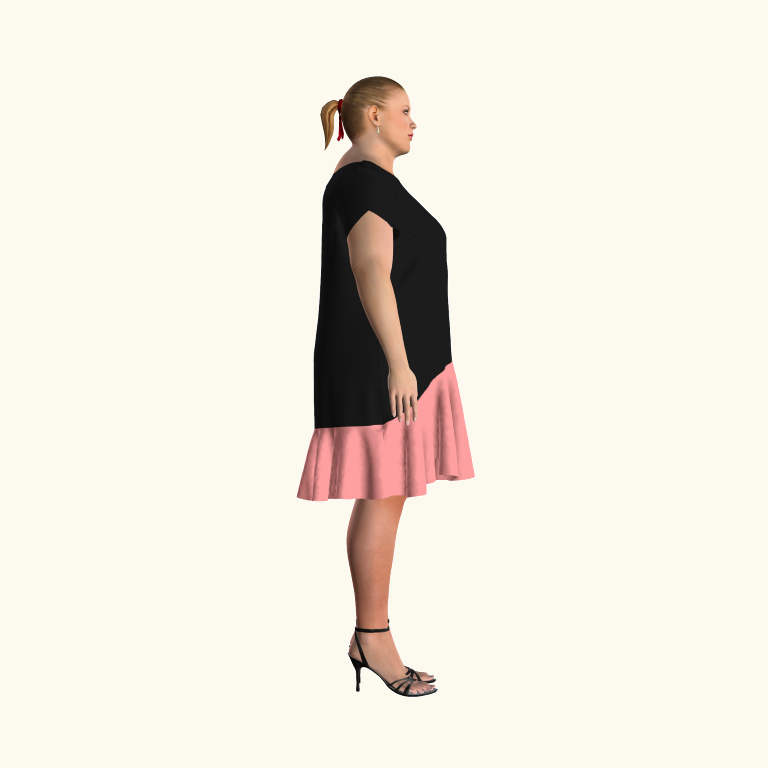
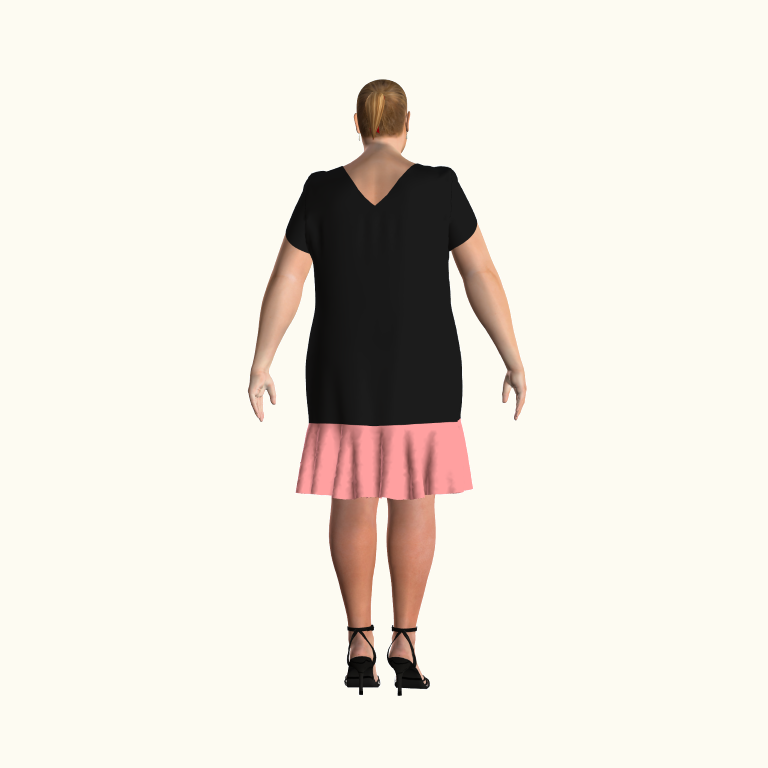
The Emma dress features a loose fit, round neckline at the front with V neckline at the back, a curved sleeve hem and a fluted hemline. This design is great for those who want to cover up the flaws in their body shape, especially for those who have big tummy.
Let me show you how it looks in 3D simulation. The simulation is done with 95% accuracy, so you will have a very nice view of you it will turn out in real life:
And here it is in color block. I really love this color combo 🙂
Notice how the sleeve is curved? I love how it looks like a flower bud.
This dress also looks great on larger women. Here it is on a size 5XL model:
The pattern is made using layered PDF, please check for your desired size before printing so you won’t waste your paper. If you still do not know how to print a layered PDF, please check for the instruction here.
You can print this using your home printer and A4/Letter paper. I calculated the printing area so that you will be able to use either type of paper to print the pattern out perfectly. Always print the first page first and check with the test square if you are printing at the right scale before you print out the whole pattern.
Cutting instruction:
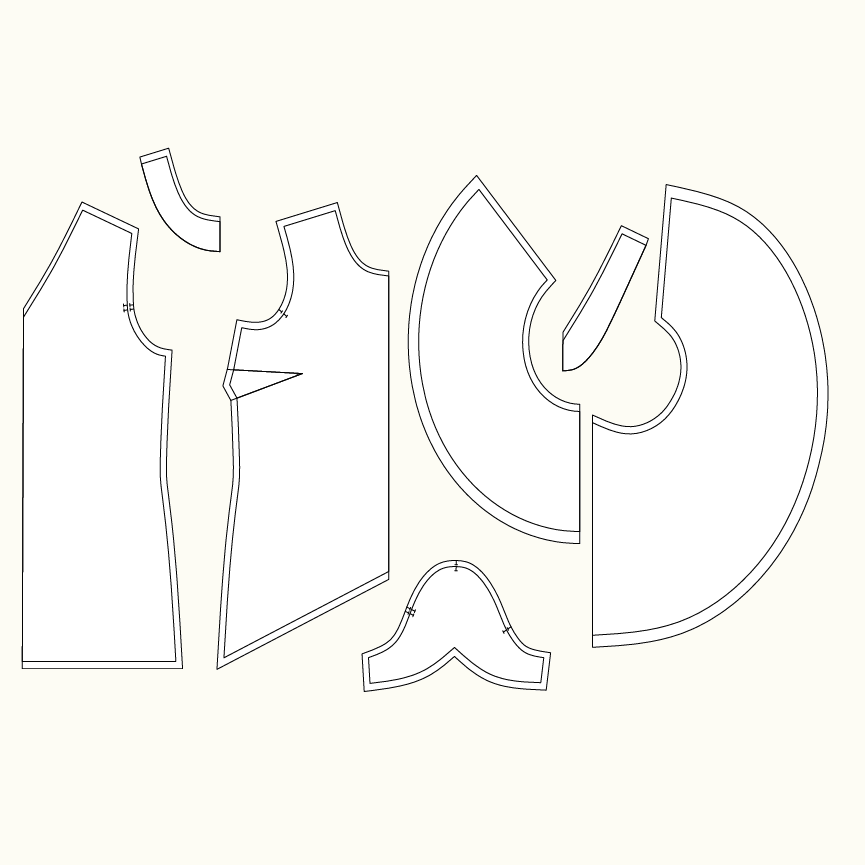
After taping down all the pages following the instruction, the overall layout of the pattern pieces is like this:
There are 3 pattern pieces to be cut as follows:
A. Front – 1pcs
B. Back – 1pcs
C. Sleeve – 2pcs + Lining 2pcs
D. Front Flounce – 1pcs
E. Back Flounce – 1pcs
F. Front Facing – 1pcs
G. Back Facing – 1pcs
This is the link to download this pattern: Emma dress
Happy sewing!
Tiana

Wednesday, October 2, 2019

Free sewing pattern: Claire dress pattern

After struggling for quite some time, I finally have the Claire dress done (and also the September mission accomplished – 3 days late)!
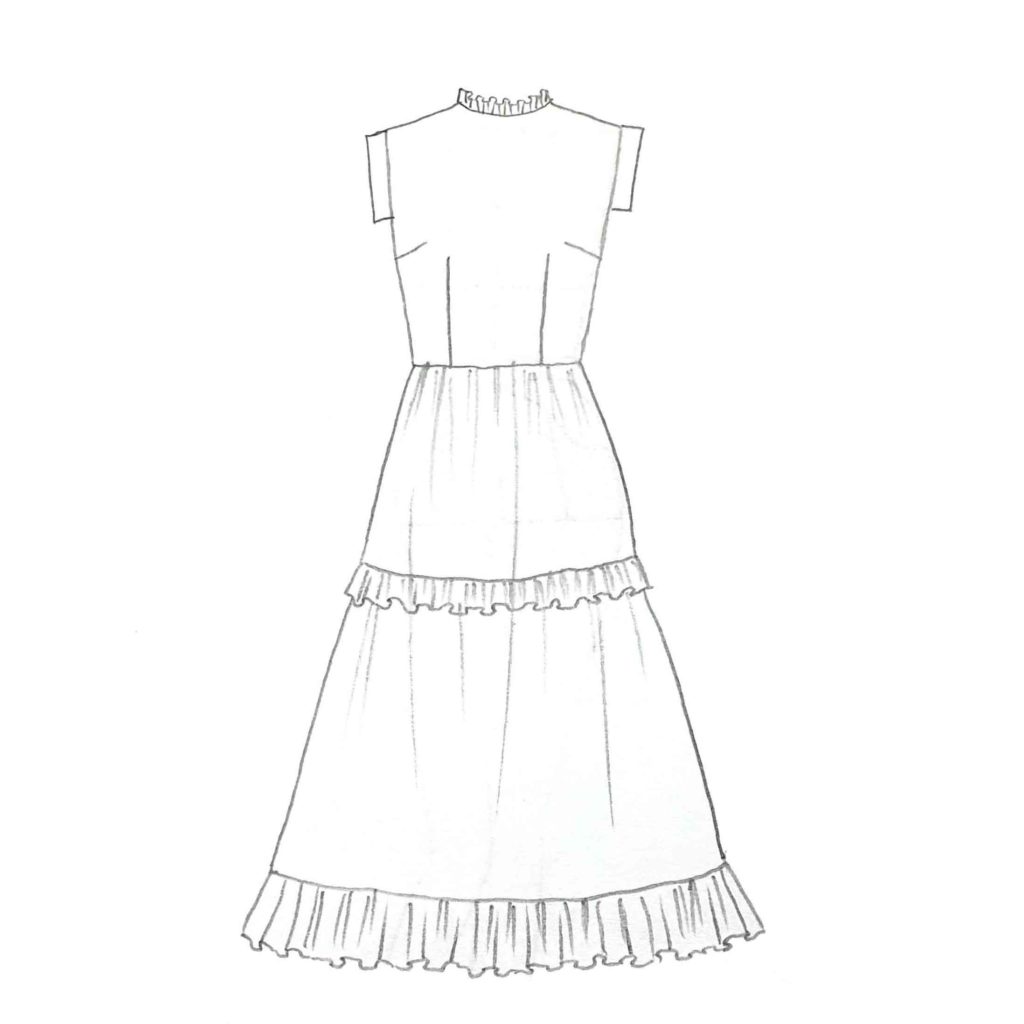
The Claire dress in my sketch is a button down one, but when making the pattern, I think that this kind of design has too much details and is unfriendly to most of new sewists, so I decided to simplify it a bit – making it without the button placket. So, the final design is as follow:
The principal features of this dress remain unchanged: neckline with ruffled detail, three tiered skirt, with two layers at the second tier and cap sleeves. The dress is a wonderful choice for those who love feminine and modest style.
And let’s see how it looks in 3D simulation:
Beautiful, isn’t it? And also it looks great on larger models:
The pattern is made using layered PDF, please check for your desired size before printing so you won’t waste your paper. If you still do not know how to print a layered PDF, please check for the instruction here.
You can print this using your home printer and A4/Letter paper. I calculated the printing area so that you will be able to use either type of paper to print the pattern out perfectly. Always print the first page first and check with the test square if you are printing at the right scale before you print out the whole pattern.
However, because this dress has quite some details, some sewing novices may feel confused when it comes to cutting and attaching the pieces together. Here is how the pattern looks when you cut and tape all the pages together:
You will see there are 10 pattern pieces, to be cut as follows:
A. Front bodice – 1pcs
B. Back bodice – 2pcs
C. Front neck ruffle – 1pcs
D. Back neck ruffle – 2pcs
E. Front skirt – tier 1 – 1pcs
F. Back skirt – tier 1 – 2pcs
G. Skirt – tier 2 inner layer – 2pcs (1 front and 1 back)
H. Skirt – tier 2 outer layer – 2pcs (1 front and 1 back)
I. Skirt – tier 3 – 2pcs (1 front and 1 back)
J. Cap sleeve – 2pcs
It may take you some time to finish this dress because it involves in a lot of gathering, but you won’t be disappointed at the result.
Well, I almost forgot the most important think, the download link! You can download the pattern for free on my website here: https://tianascloset.com/index.php/2019/10/03/claire-tiered-dress-pattern/
Happy sewing,
Tiana

Tuesday, October 1, 2019

Sketches

Although I have not been able to finish my September collection (look how unprofessional I am, oh but I am just a hobbyist after all, please forgive me for being so amateur!), I could not help but sketching out my ideas. I am so afraid that if I do not draw them out, I will forget about them in a day or two. And poor me! I cannot turn them all into patterns! I wish I can have as much time as I want and do not have to worry about anything except for doing what I really like (drafting MY patterns, of course).
Now, let’s see a few of my sketches that I have drawn during the last few days. Many of my sketches are left in the sketchbook not being colored, so there will be more to come.
Well, you see, there are 20 of them, and there are more left in the sketchbook not colored. I am so overwhelmed with ideas and I am so desperate I do not have enough time to make them all.
For October, at first I planned to choose some of these sketches to make the October collection, but now I am so confused – I just like them all! I think I will choose to make one pattern for each week of the month. Well, that’s the plan. Hope you will like it!
Give me your opinion if you specifically want to turn any of these sketches into patterns. I will make them for you, my dear readers!
Love,
Tiana